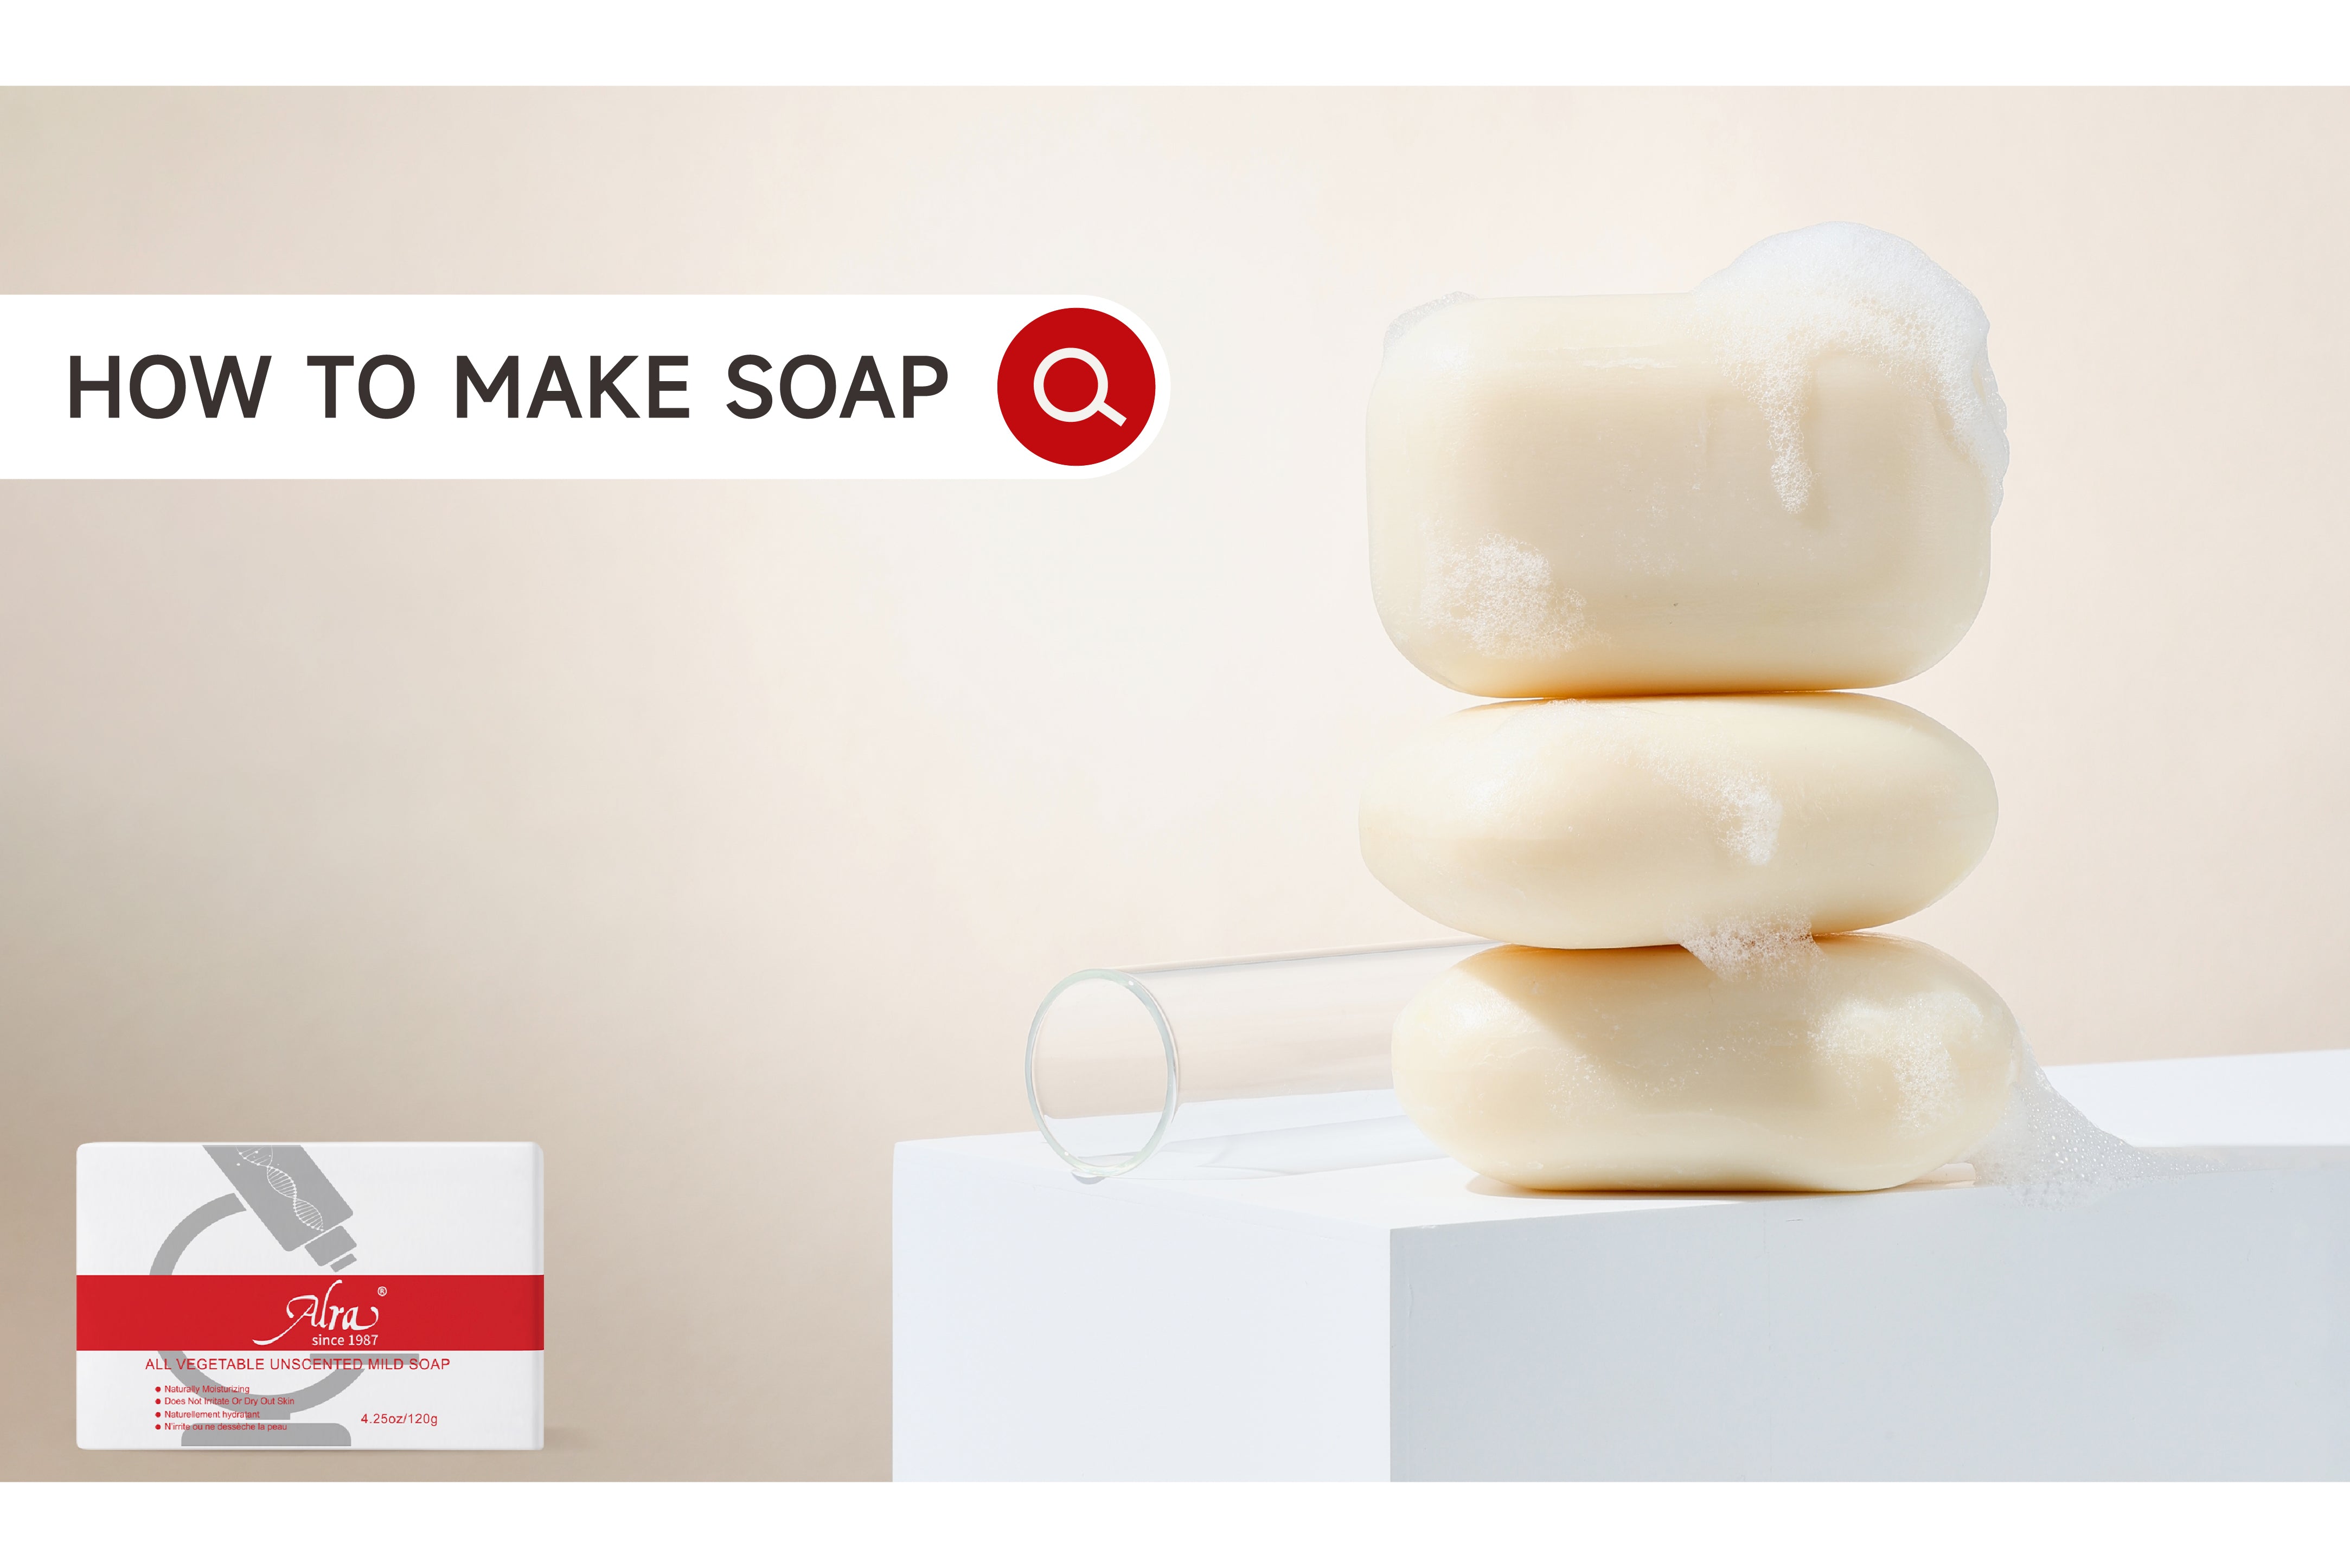
Soap making is an enjoyable and rewarding craft that allows you to create products that are both functional and artistic, with endless customization possibilities. Whether you want to make soap for personal use, as a thoughtful gift, or to start a small business, this guide will help you understand the basics and get started.
To learn how to make soap, first, choose one method from four. The most popular 2 methods are "melt and pour" and cold working. Other methods are more advanced methods that have advantages, disadvantages, and variations.
- Melt and Pour: This simple process involves melting pre-made bars of soap and adding your fragrance.
- Cold Method: The cold method is the most common way to make soap from scratch using oil and lye.
- Hot Process: A variation of the cold process method, hot processing involves making the soap in a slow cooker or oven.
- Remixing: This method grinds and remixes batches of inferior homemade soap.
Safety First
Soap making involves handling lye (sodium hydroxide), a corrosive substance that can cause severe burns. Safety is paramount, so make sure:
- Wear protective gear: gloves, goggles, and long sleeves.
- Work in a well-ventilated area.
- Keep vinegar nearby to neutralize any spills.
- Never add water to the lye; always add lye to water to prevent a dangerous reaction.
Basic Guide to Making Soap
Soap is the result of a basic chemical reaction between fat or oil and lye. The process of achieving a chemical reaction is called saponification. By carefully choosing a combination of quality oils, adding your favorite fragrance or essential oil, and incorporating lively colorants, your handmade soap suddenly takes on a charming, rustic character.
- Ingredients andMaterials
- Lye (sodium hydroxide): a key ingredient in soap making.
- Water: Distilled water is best.
- Oil/Fat: Such as olive oil, coconut oil, palm oil, etc.
- Perfume/Essential Oil (optional): for fragrance.
- Coloring agent (optional): used to color soap.
- Safety equipment: gloves, goggles, long-sleeved clothes.
- Equipment: digital scale, thermometer, immersion blender, soap mold, stainless steel pot, plastic or silicone spatula.
- Steps to Making Soap
Making soap using a melt-and-pour base is safe, easy, and convenient. The base has already gone through the saponification process, so there is no need to deal with lye. First, purchase pre-made, colorless, unscented soap "base" blocks from a craft store or soap supplier. Then melt the soap base in the microwave or double boiler. Once the soap is completely melted, you can add fragrances, colors, and additives. Pour the mixture into the mold and once the soap has hardened it is ready to use.
Step 1: Prepare the Lye Solution:
- Measure water and lye separately using a digital scale.
- Slowly add lye to the water (never the reverse), stirring until dissolved. The solution will heat up and release fumes.
- Let it cool to about 100-110°
Step 2: Prepare Oils/Fats:
Measure and melt the oils/fats together, then cool to 100-110°F.
Step 3: Mixing:
- Once both the lye solution and oils are at similar temperatures, slowly pour the lye solution into the oils.
- Use an immersion blender to mix until it reaches "trace" (when the mixture is thick enough to leave a mark when dripped on itself).
Step 4: Additives:
Add any fragrances, essential oils, or colorants at this stage.
Step 5: Pour into Molds:
Pour the mixture into soap molds. Tap the mold to release any air bubbles.
Step 6: Curing:
- Cover the mold with plastic wrap and wrap it with towels for insulation.
- Unmold after 24-48 hours and cut into bars if needed.
- Cure the soap for 4-6 weeks before using, turning occasionally.
- Coloring Recommendation
White and clear glycerin bases are very popular in soap making. For soap-making enthusiasts looking for a luxurious experience, try goat's milk, olive oil, or shea butter as a base.
To make melting easier, cut the soap base into smaller pieces first.
- Melting Method
- Microwave melting method: Place the cut soap base into a microwave-safe bowl and stir every 30 seconds until it is completely melted into a smooth liquid.
- Double boiler method: Heat in a double boiler over low heat, stirring constantly until it becomes a smooth liquid.
- Added Colorants, Flavors and Additives
While the soap base has cooled to 120 degrees Fahrenheit, add your choice of colorants, fragrances, and other additives.
- Pour into Mold
Pour the mixed soap solution into the mold and wait a day until the soap is completely hardened and dry. Then remove from the mold and your soap is finished.
Key Soap-Making Tips
- The right timing for additives
During the soap-making process, additives may sink to the bottom of the container due to the thinness of the melted soap base. To avoid this, it is recommended to allow the soap base to cool slightly before adding additives. This ensures that the additives are evenly distributed in the soap for better results.
- The importance of temperature control
In soap making, controlling temperature is crucial. If the temperature of the soap base is too high, it can overheat or even burn, which can make the soap mixture thick and difficult to flow. Therefore, it is very important to ensure that the soap mixture is at the right temperature before pouring it into the mold to prevent the soap from becoming too dense or sticky, affecting the quality and appearance of the final product.
By precisely controlling the timing of additive additions and the temperature of the soap mixture, the quality and aesthetics of the soap can be significantly improved.
Recommended Additives
- Sandalwood powder or dried calendula petals: These additives are especially ideal when making melt-and-pour soaps. Not only do they add to the scent and beauty of the soap, but they also enhance the experience of using it.
- Caution in the Use of Herbs: Be careful when choosing herbs as additives. Herbs may cause color changes in the soap, affecting the appearance of the final product. It is recommended to test the effectiveness of herbs in soap beforehand.
- Other Additive Options: Consider using diverse additives such as exfoliants, fruit seeds, or milk powder to increase the functionality and appeal of your soap.
- The addition of these additives is an important step in making melt-and-pour soap, enriching the soap's properties and effects.
Always be safe when working with any material, especially when working with hot soap bases.
It’s equally important to have fun creating during the making process, which helps inspire innovative and personalized soap designs.
Overall, choosing the right additives and mastering the right techniques can go a long way toward improving the quality and beauty of your homemade soap.
Conclusion
Soap making may seem cumbersome at first, and some people worry about coming into contact with lye, but once you get used to it, making soap becomes a fun and creative process. Not only do you get a product that perfectly suits your preferences, but you also get the satisfaction of making it yourself. So, gather your materials, follow the steps below, and start your soap making journey! Remember, the key to making great soap is practice and experimentation. Don’t be afraid to try different essential oils, scents, and color combinations. Happy soap making!